The first mock up of the setup wheels was done on my mates Autograss car:
 Untitled
 by
Peter Strange, on Flickr
 Untitled
 by
Peter Strange, on Flickr
 Untitled
 by
Peter Strange, on Flickr
 Untitled
 by
Peter Strange, on Flickr
Obviously will be welded together, but as a proof of concept, these work!

An ironing board for the Polo arrived too:
 Untitled
 by
Peter Strange, on Flickr
 Untitled
 by
Peter Strange, on Flickr
Mr Haug himself had his car in a wind tunnel - reports 80-103kg at the rear axle @ 170kph, I didn't witness the testing, so pinch of salt with those figures. That said, he doesn't piss about with his own car:

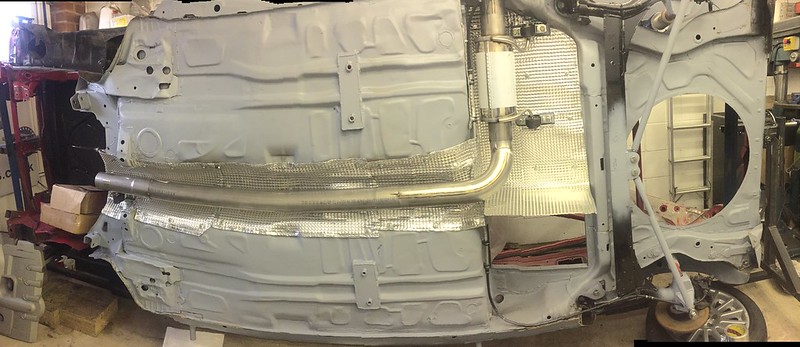
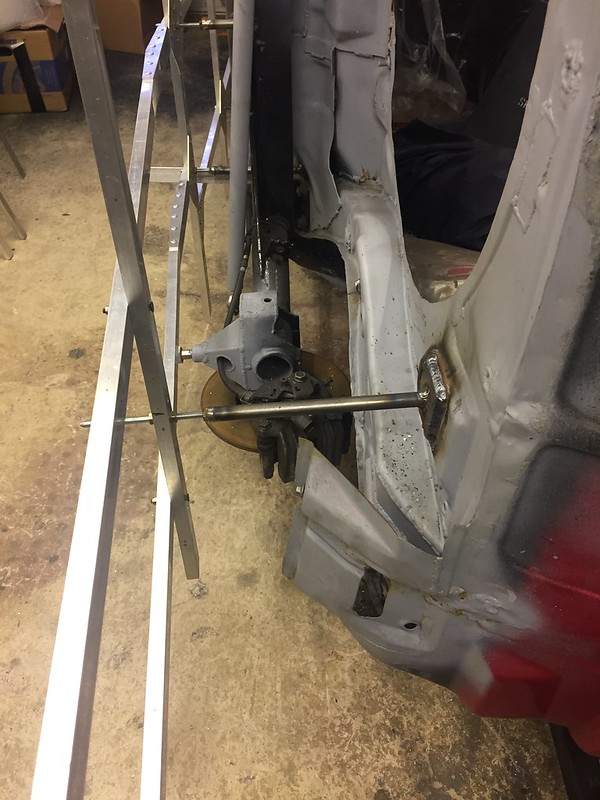
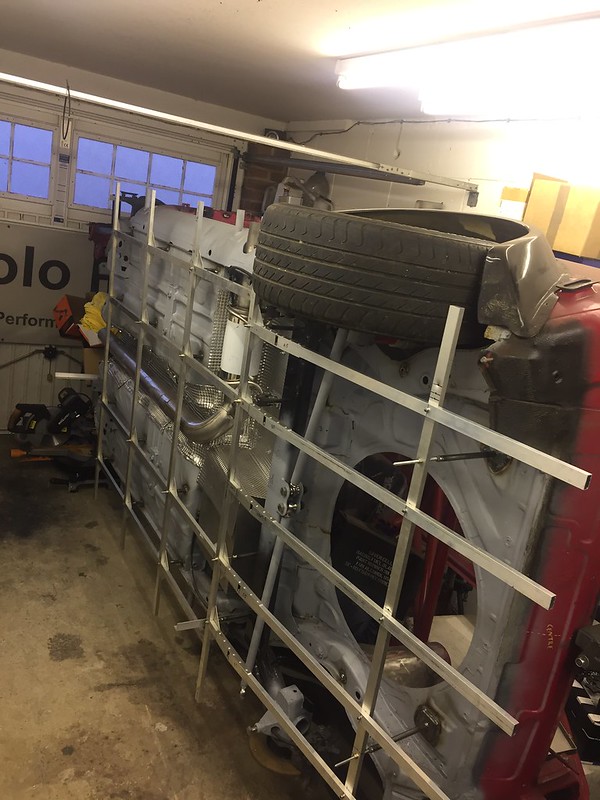
Onwards to the floor! I thought long and hard about dong this, and decided last year it was something I wanted to do, hence the exhaust and fuel tank modifications. I don't like adding weight to the car, but I'll not re-underseal the floor, so there's 10kg in the bag there.
So, start with a bare floor, and a mock-up wheel of the correct dimensions:
 Untitled
 by
Peter Strange, on Flickr
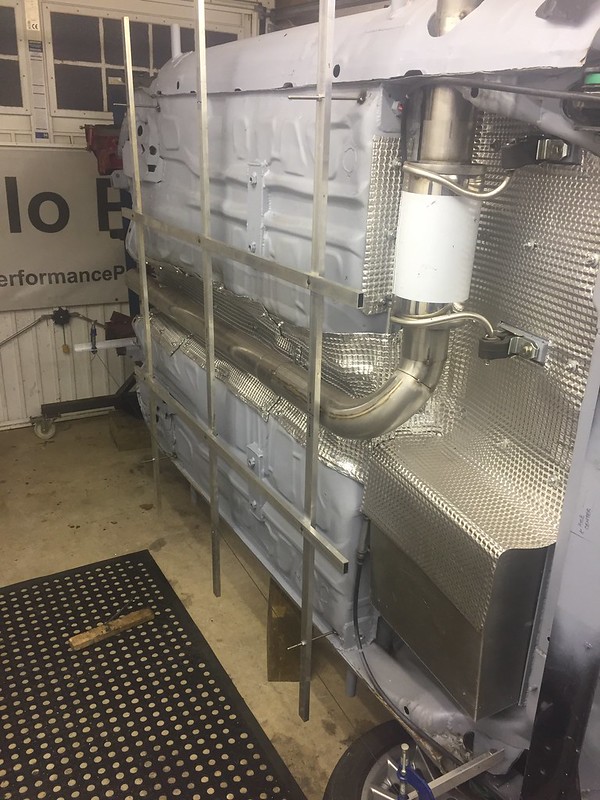
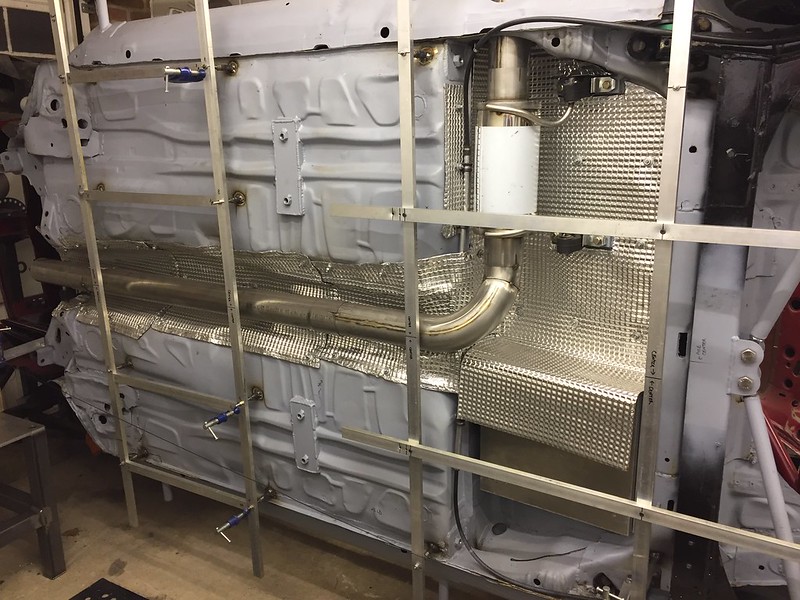
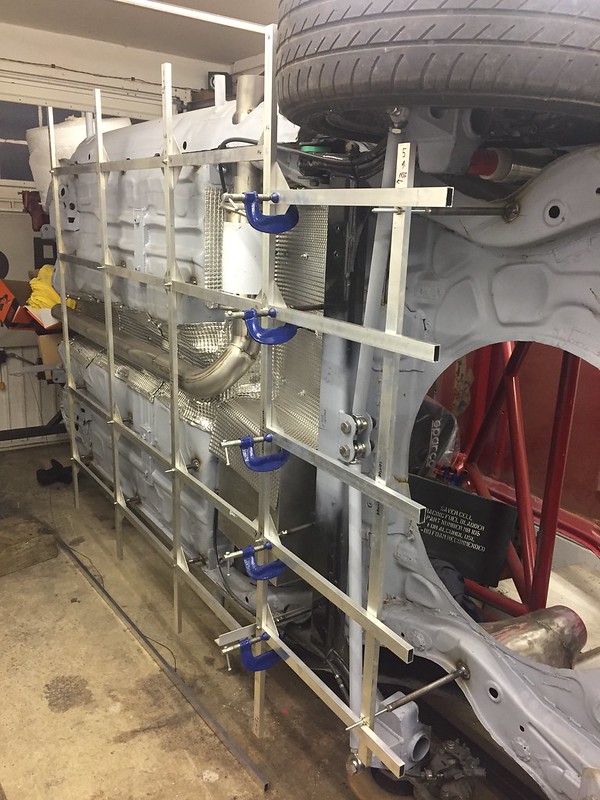
The basic frame was then put into place, I'd made some measurements prior to taking the car off the road so I knew where my ground line was. I've worked on 60mm between ground and floor face, this is the minimum allowance in the Seat Motorsport guidelines for the Supacopa which I've cribbed a few things from.
 Untitled
 by
Peter Strange, on Flickr
I was however, still fairly cautious, as I'm changing the wheels, suspension and probably rideheight - so wanted to allow for future tweaks.
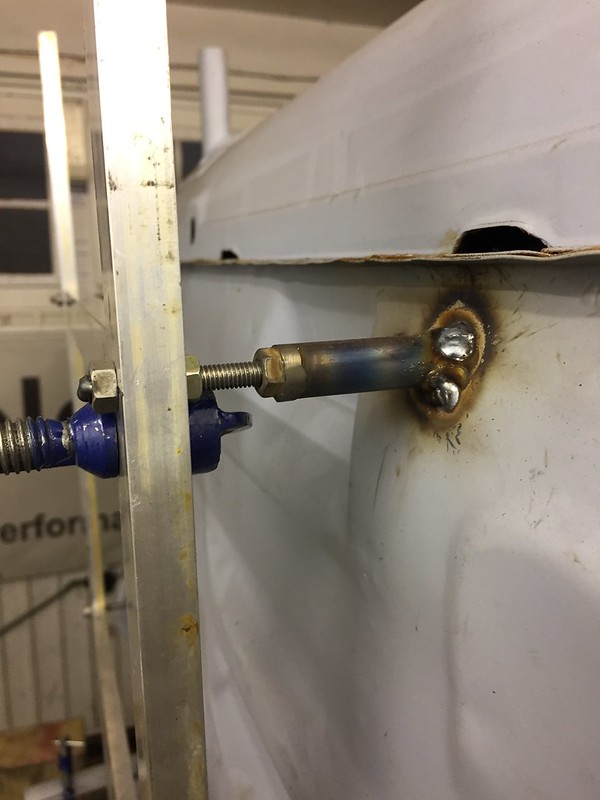
I decided to weld tubes with captive nuts to the body, but make them 25mm short of the frame. I'll make some nylon spacers, and tape these to the steel tubes, a button head fastner will then hold it all together.
My theory being, I can alter the floor height by changing the nylon spacers, and if I hit something the bolt will hopefully bend, before the metal tube welded to my Spanish steel floor!
 Untitled
 by
Peter Strange, on Flickr
 Untitled
 by
Peter Strange, on Flickr
Generally this took ages to get right. Loads of measuring, re-measuring and tea drinking. Re-clamping, re-measuring, and making new pieces if they didn't fit 100%
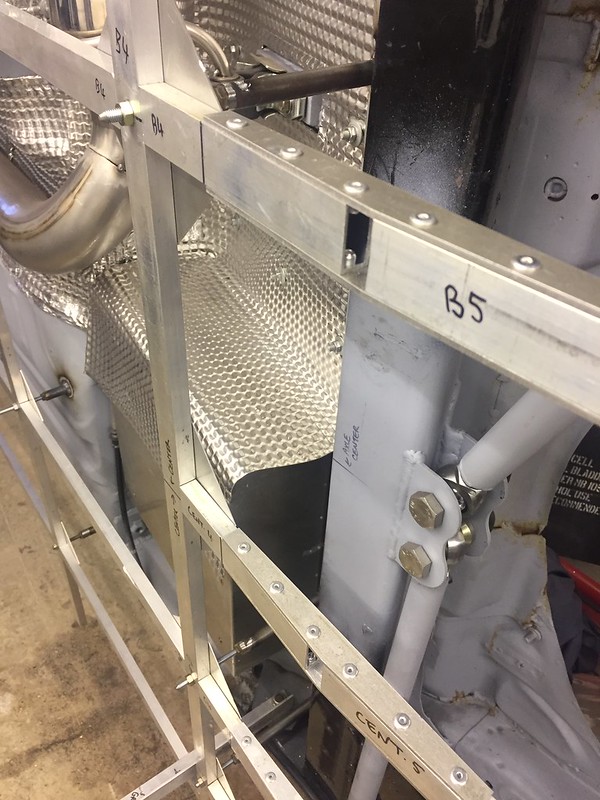
I had some ally plates laser cut to join everything together:
 Untitled
 by
Peter Strange, on Flickr
 Untitled
 by
Peter Strange, on Flickr
Many rivets later, it was getting there:
 Untitled
 by
Peter Strange, on Flickr
I've incorporated a rear diffuser, currently started off with a 7' angle, which is fairly standard - it doesn't look extreme, or anything like some of the time attack cars. But at greater angles the risk of detaching flow from the floor is increased. I run the car slightly nose down too, so didn't want to take the piss too much.
If I want to change this in the future, I'll get some more plates cut at a different angle:
 Untitled
 by
Peter Strange, on Flickr
Longer tubes welded to the rear floor (with some spreader plates) securing the diffuser:
 Untitled
 by
Peter Strange, on Flickr
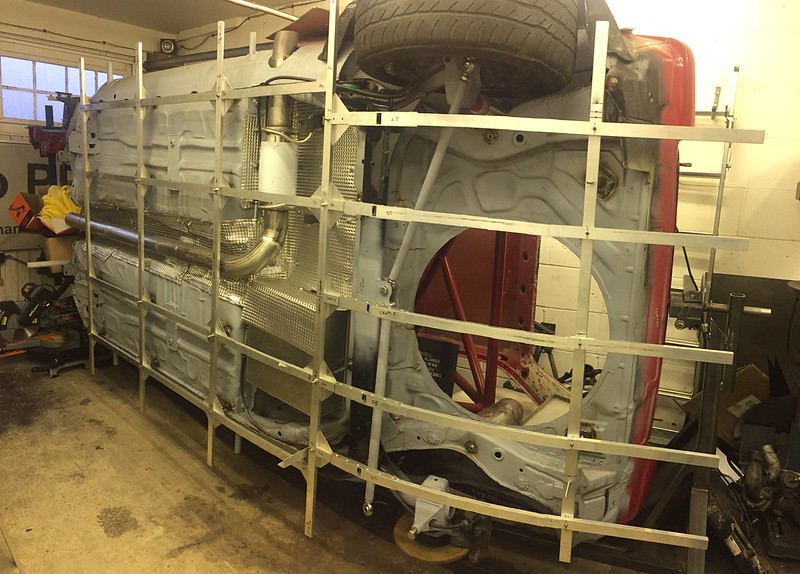
The finished frame:
 Untitled
 by
Peter Strange, on Flickr
 Untitled
 by
Peter Strange, on Flickr
 Untitled
 by
Peter Strange, on Flickr
Next steps are to get the floor plates laser cut, means I can easily replace them as/when they get damaged (and I doubt I can cut straight lines...)
Been tinkering with the powertrain in parallel to this, hoping to use a combination of VAG parts to make something reliable and circa 350bhp.
Cheers
Pete