My working week is normally Monday-Thursday, but it's rare I get a Friday off these days. However; come last Thursday afternoon the job list for the week was looking achievable by Thursday night, so I did a little graft & stayed a little late in the knowledge that Jess was away this weekend visiting friends abroad, and I had a lots of jobs to do on the Polo and the chance to bang in a couple of decent shifts.
Looking at the pictures I posted last, I knew that the jobs I had to do wouldn't make it look much further on, but in real terms it's all valuable work done.
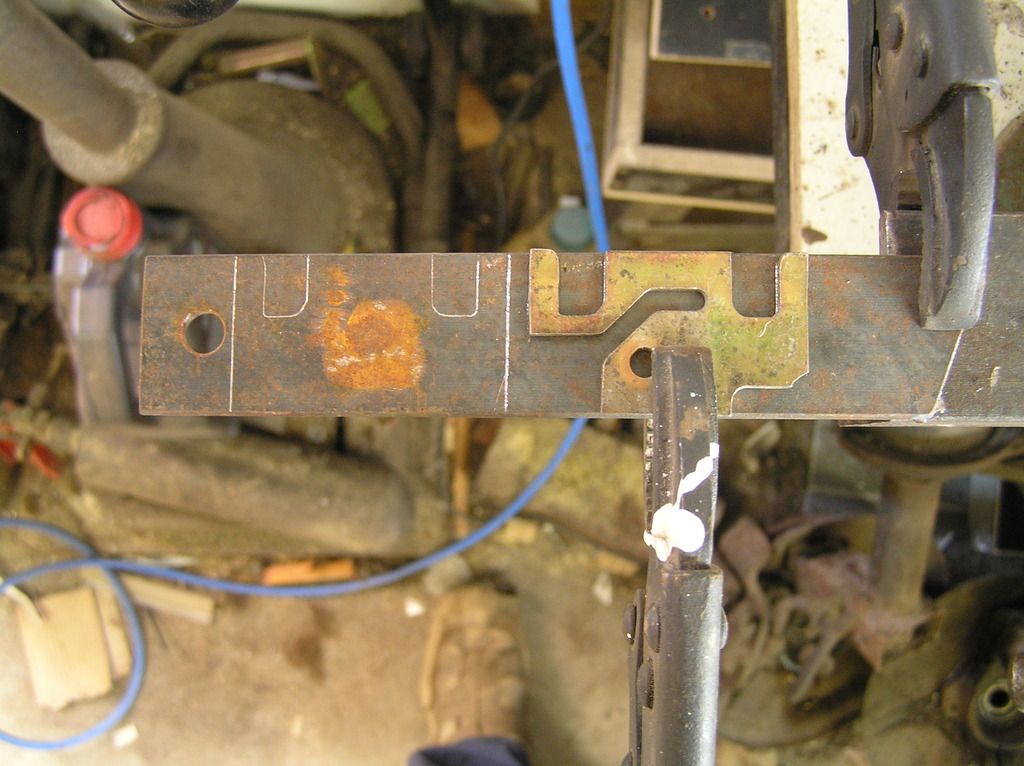
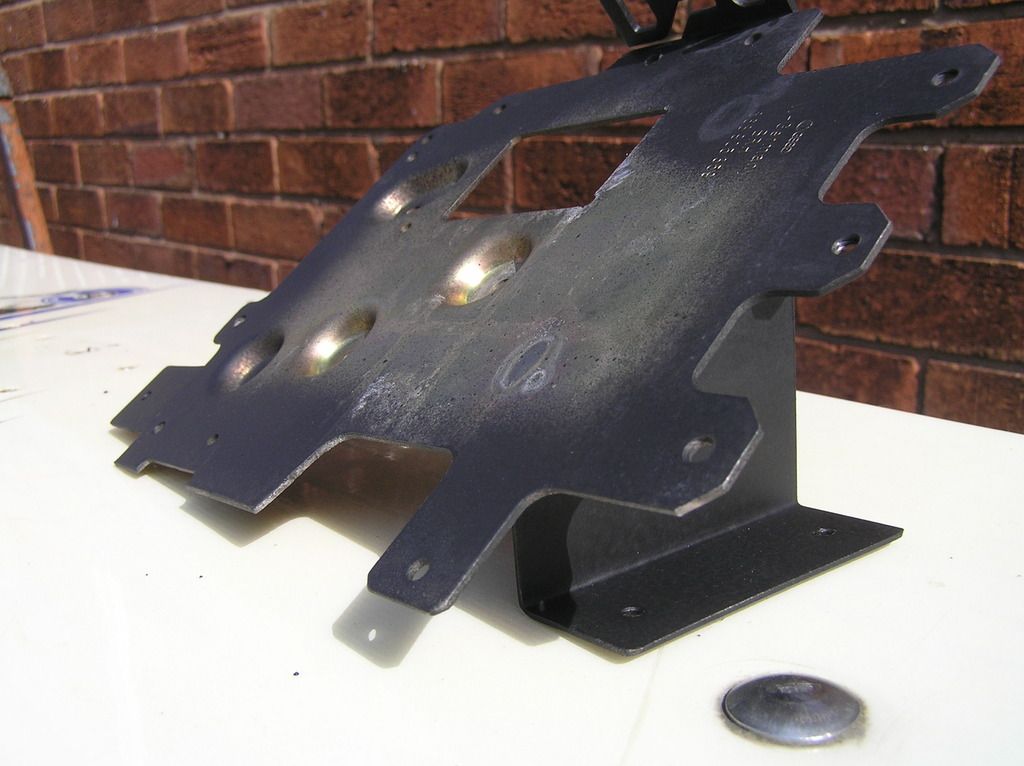
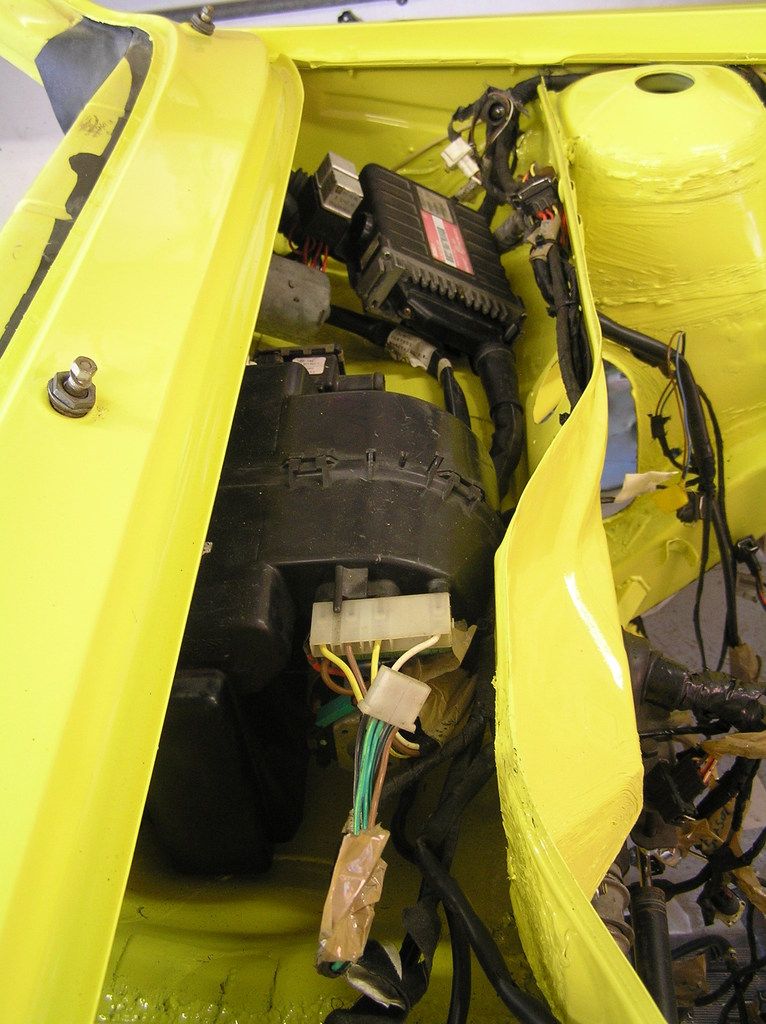
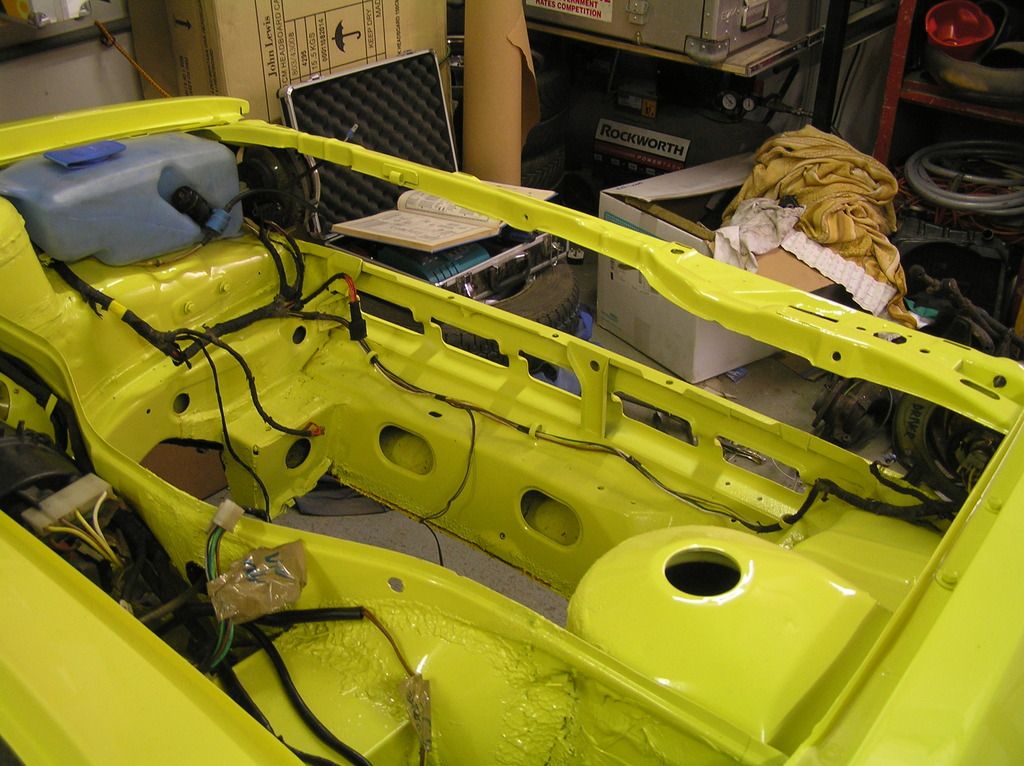
I started with the ECU. Roughtly in place, I needed to fix it down properly and work out where the two relays were going to sit too. I Ummm'd & Ahh'd about riviting it straight down to the bulkhead/making a new bracket/altering the O.E bracket. It needs to be off the floor, as techinically it's a gutter. I butchered the O.E bracket, making new mounts, cutting off the old ones and relocating the bracket for the relays. Seeing I had some other relays to mount, I copied the profile a couple of times on to steel, should I need it later.
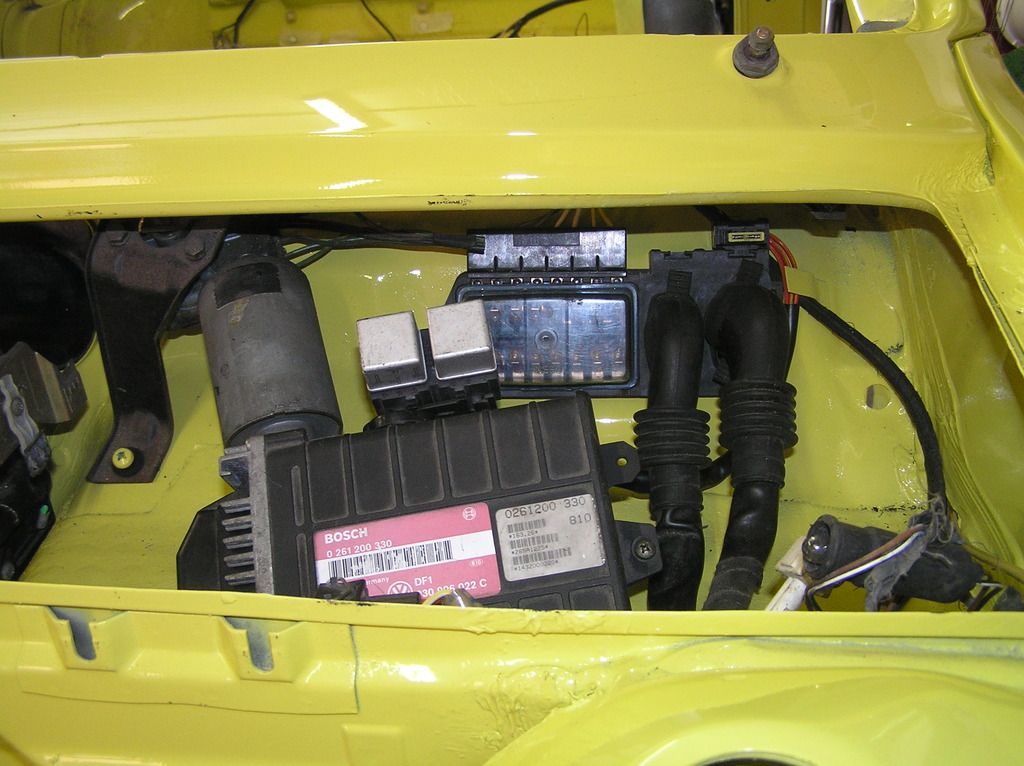
So I'm happy with that. Looks neat and the angle I've set the ECU at keeps the loom out the way of the air inlet through the bulkhead. I also took some time to tidy up the looms and tie them up out of the way, across the bulkhead.
I carried on the tidying theme inside. I used a clip and a few tie wraps to hold things up inside. The thing is, there's about £200% more loom than in the Mk1, and all the tie points & clips are different to the Mk3. I'm not about to drill it to the point of being a colinder either, so tie wraps are fine - used properly and what they were designed for.
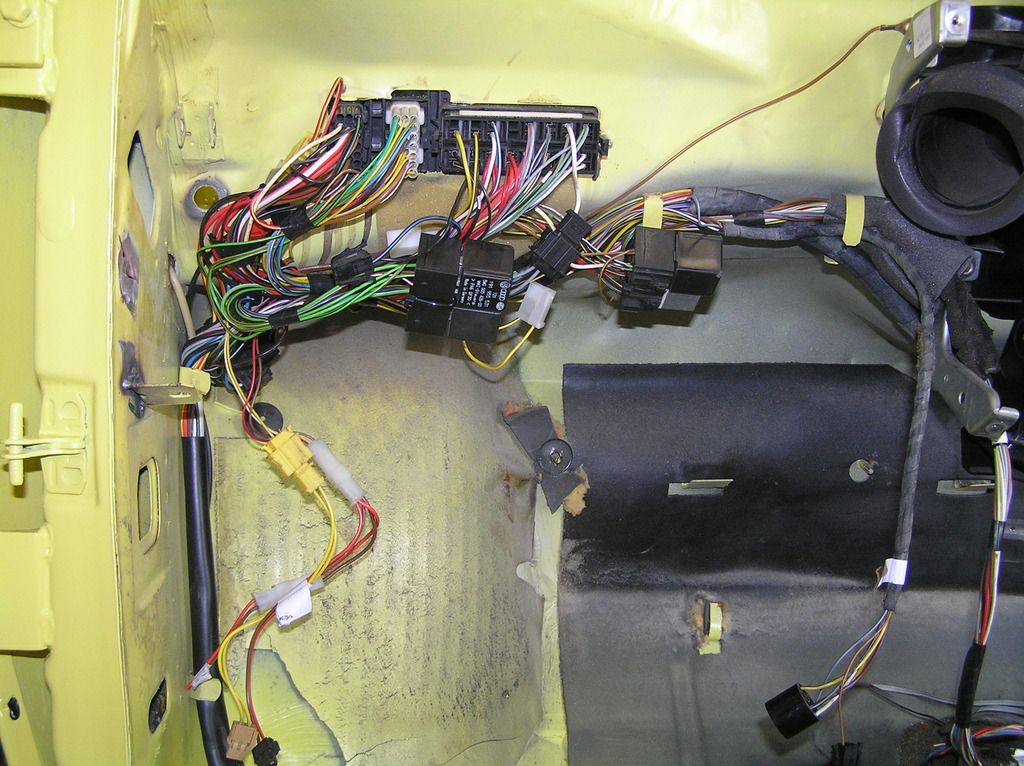
The G40 engine loom I bought (the VERY first part I bought, which Mat (OldskoolMat) hooked me up with,) was marked up which helps, but three years later (and being written on parcel tape with dry wipe marker) a lot had rubbed off or become unreadable. No matter, got the Haynes out and marked it back up. all good.
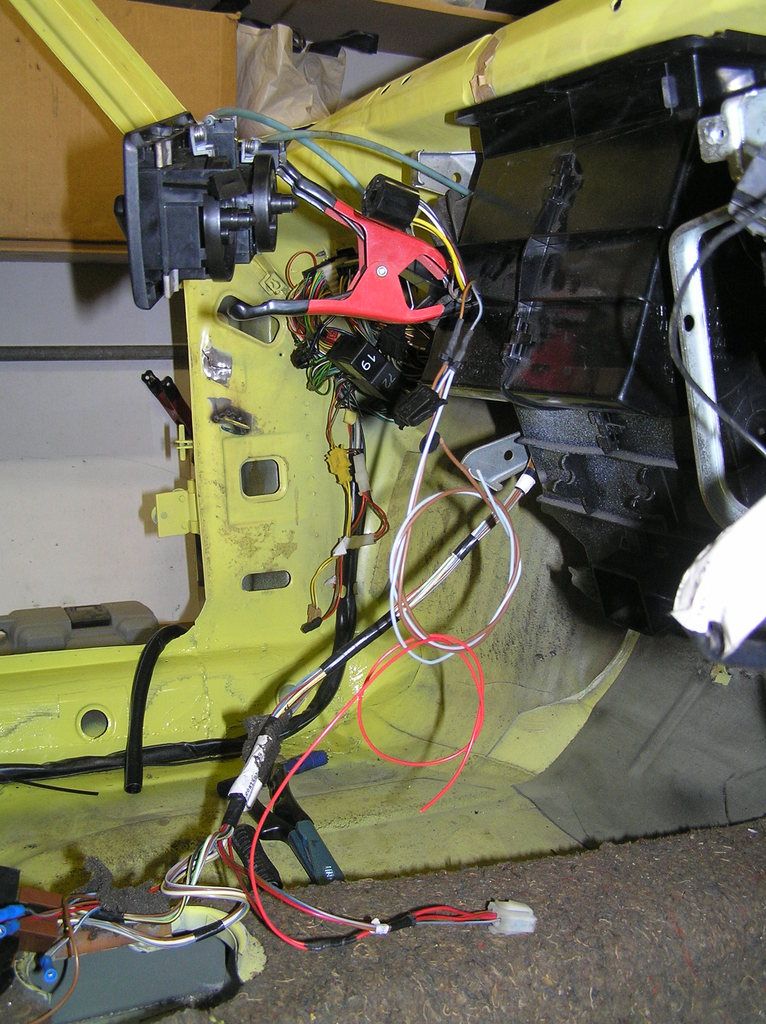
Then I tackled mating the Mk3 loom to Mk1 just behind the heelboard. I had already belled out the Mk1 loom earlier in the build, so I knew what wires were what. Haynes told me the rest.
There are a couple of anomalies when doing this.
- I am using the wash tank & setup from the Mk3, so I took the tank out of the rear and it's replaced by a washer fluid pipe coming from the front, so there's a redundant 12v supply in the mk1 loom.
- On the Mk1, the numberplate lamp backed off the sidelight supply - on the mk3 it's seperate, so I left the Mk1 one in and there's a redundant 12v supply fromt the Mk3 loom going backwards.
- Heated screen wire is black on the Mk3 and white on the Mk1 -just joined them.
- Wiper motor feed colours also differed.
In fairness, it was quite straight forward. I joined it all up (soldered with heat shrink) and I was left with the two heavy wires for the fuel pump and the washer fluid pipe. BOOM!

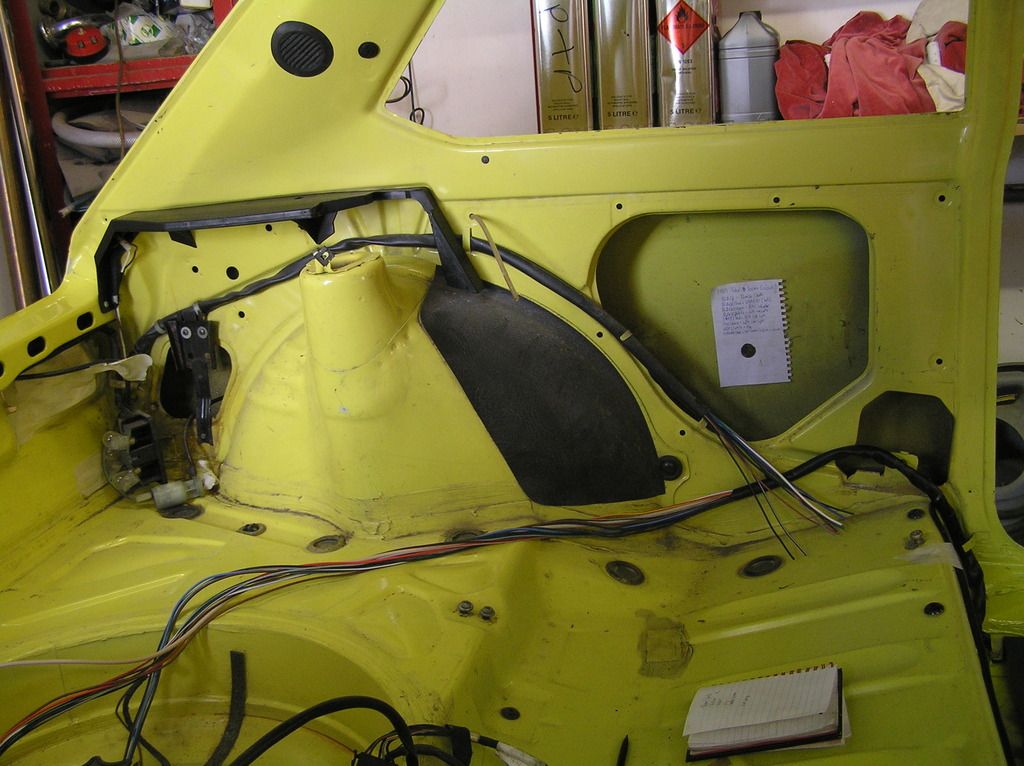
It's all tidied up and pinned back now. As all that was in, I did a bit of fun stuff, cleaned up & put the rear clusters back in. Also put the vents back in the rear pillar while I was around that end of the car.
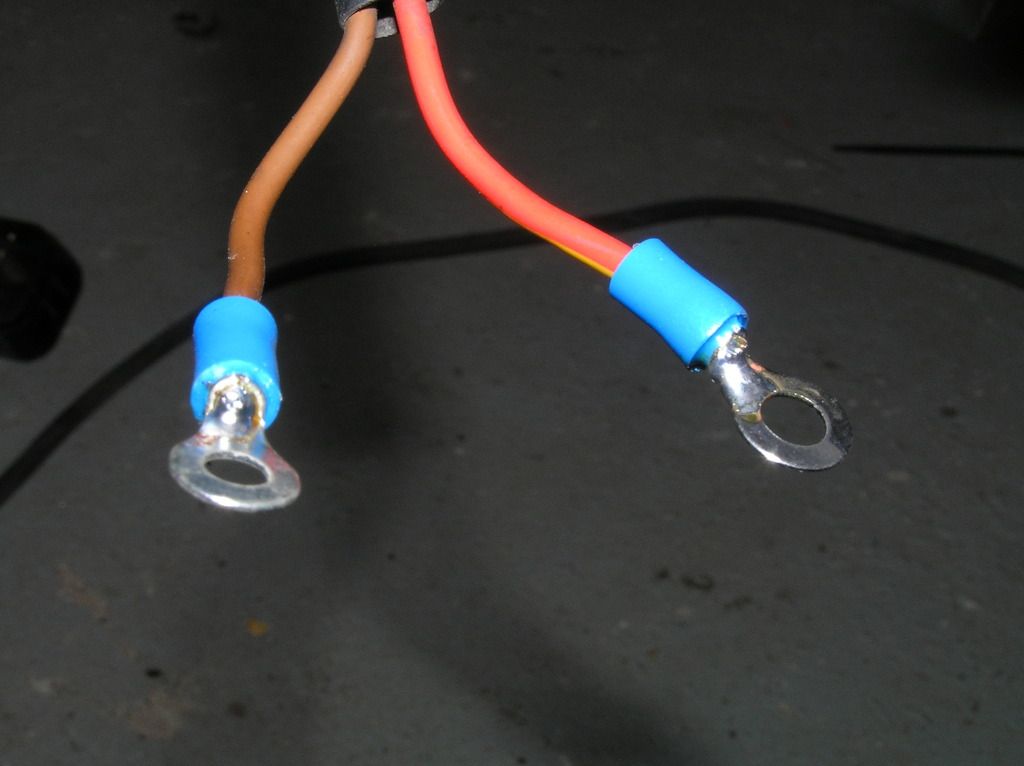
I drilled the hole in the boot floor for the fuel pump wires and (knowing that a healthy voltage is required to the pump for best performance) soldered the terminals on and fitted all that up with the rubber caps.
As I was on the fuel system, I stripped out the third line (for the charcoal can) and scrapped it, then clipped up the lines under the car and into the 'bay. Nice!
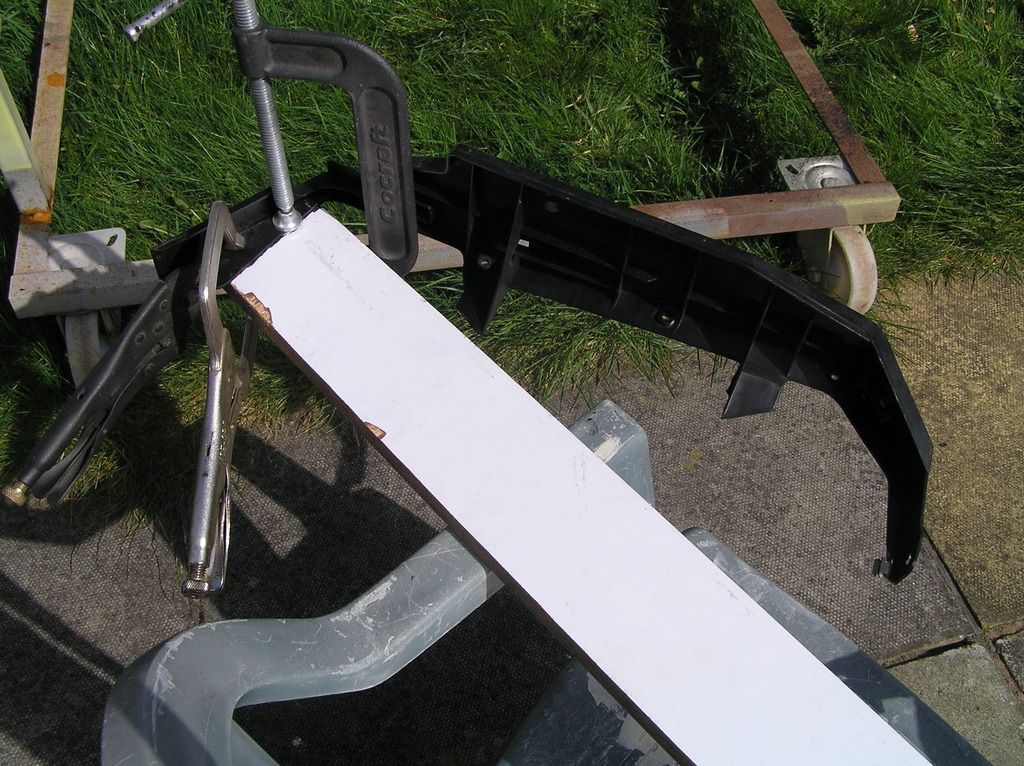
Some of the plastic parts knocking on for 35 years old are a bit brittle, so the rear parcel shelf supports needed some reinforcement with the thin plastic before putting them back in. You know the dance kid, cut some placky - bond er'up. Sorted.
Back on the front end, I fitted up the Mk3 4 litre wash tank, connected the rearward pipe and cleaned & fitted the front lights - mainly so I could get the lighting loom in the right place. I also cut the indicator wires off at the fitting and soldered on some male Lucar's to match the indicator units in the bumper.
Before I can put the dashboard in, everything behind it needs to be figured out and in place. We all know what an arse it is working with the dash in when you've got a problem. There's a few bits to this, and I'm not quite there with it yet. I need some more parts too. I know what they are now though as I made a list. I'll get on the drum n' bass with ordering those next week.
Brake piping is coming soon, and to do that I need the master cylinder in place to make the pipes. Obviously for that, you need the servo in place, so pedal box has to go in. It also has to go in before the dash. So I bolted it all up. I got a Mk3 throttle pedal the other week too, which aided proceedings.
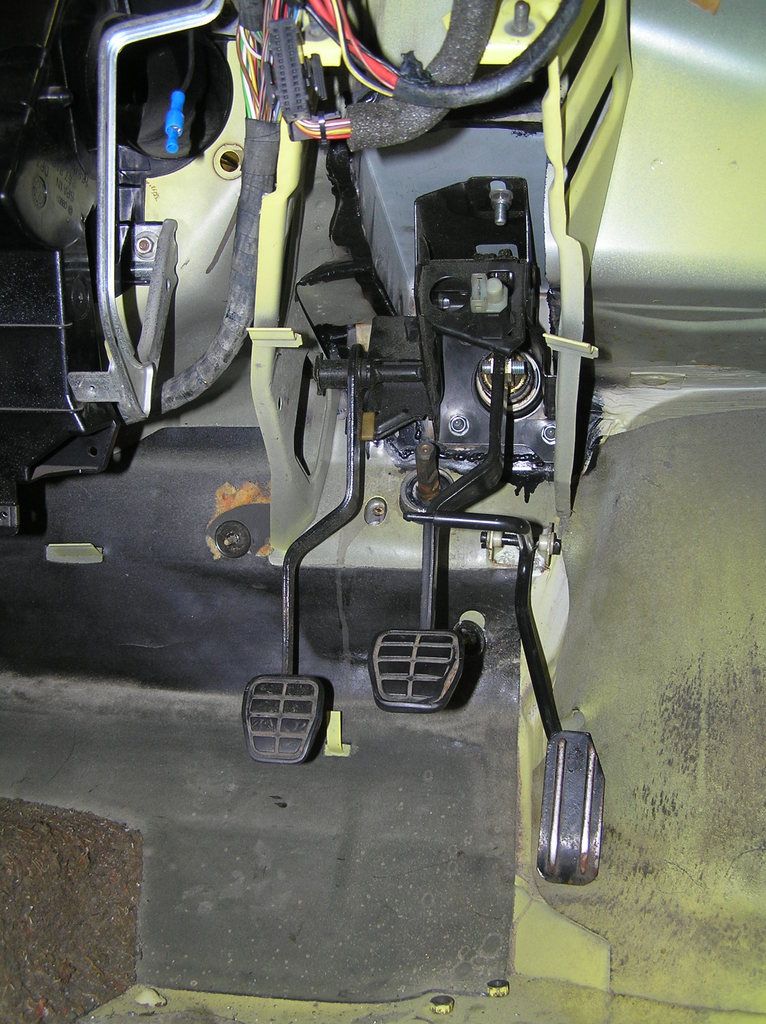
It's looking good. I gave the servo a quick blast of matt black too while I was at it.
I want to be 100% sure of the proximity of the throttle pedal the the brake pedal, and I think I need a new cable - the one I've got is a bit shagged really. I'll take a look at a Mk3 before doing that and putting in any holes I later regret.
Anyway, I batted on with hooking up all the heater controls and getting that working nicely from a combination of two sets of components I've gathered along the way. I gave a bit of thought to the gauges I'll be putting in the stereo aperture and the feeds I'll need for that, so I backed off an illumination feed and an ignition live for the AFR. The AFR is the only one which will need a feed. Boost gauge will be manual (standard really) but so will the oil pressure gauge. I prefer a nice analogue pressure gauge.
As it's having central locking, and I've got the whole thing in bits I though I'd go the whole hog with an alarm so I've got that to wire in now. It doesn't seem too complicated. More complex is having it installed but overriding it for the time being so I can get the car working without the added complication of mastering the alarm!! But I can do that. Should be fine.
I'm also thinking about the stereo (not 100% sure where it's going yet - top of the centre consul is looking favourite at present.) I cut off all the gash stereo wiring from the past and got back to basics with an ignition live, perm live, illumination & ground. I'm starting again. I'll run all those wires too before I put the carpet down. The speaker wires are going into the doors through the same gaiters which I'm putting the services for the locking solenoids. You may remember me working out the metalwork side of things earlier in the build.
Lastly for this update, thinking more about the gauges and there position, I wanted to do something a little nicer than putting them into a flat plate in the stereo aperture, so I've designed up a faceplate. The idea being for the gauges to face me a bit more.
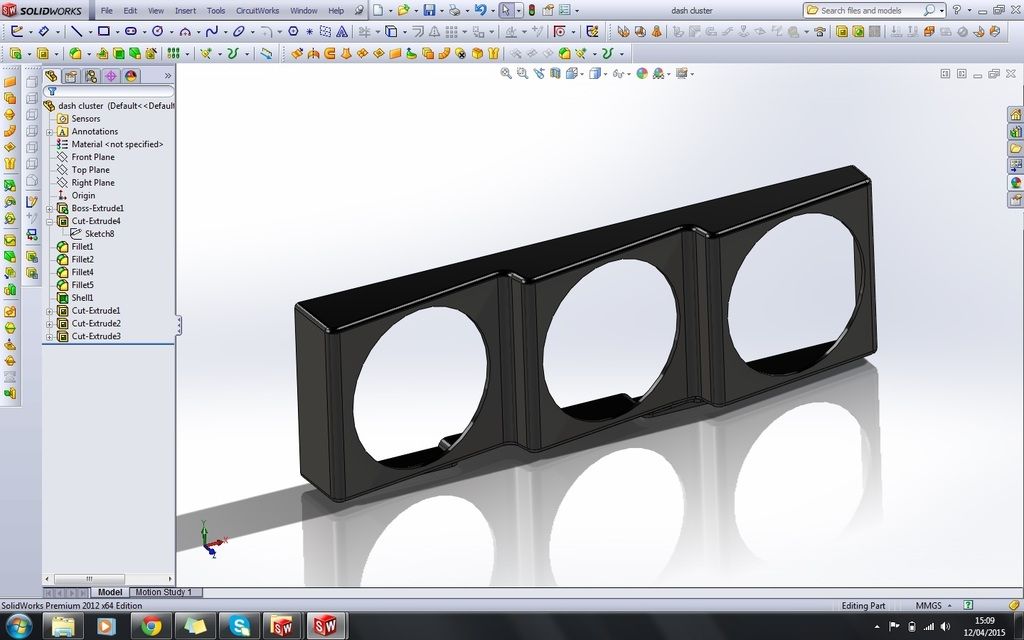
I'll extend the depth of it, have that CNC cut out of a block of MDF, then make a GRP mould and take a print. I've got a strategy for holding it in place sorted out, but we'll go into that once I'm got a bit further on with the component.
So a load of work done, not a great deal to show for it but technically moving me a lot further on. Doubt I'll get a block of time like that again for a while.
Still, housework has to be done. Sometimes even THAT can work to your advantage.....