Fabrication - Part 1So, I haven’t been working on my Polo that much over the summer, but now with winter time, I’m in the garage a few nights a week. Deadline is to have it running and MOT on the road by Easter next year, and use it as my wedding transport June 2015.
On with some fabrication, it all fairly self explanatory, cardboard cut-out, transfer to steel, weld in steel... a few points I had to consider:
- Retain subframe mounting points
- Not spaceframing the front end (although with hindsight this may have been easier)
- Fitting everything in with a reasonable static clearance (20mm+)
- Driveshafts
- Everything else, shifter mech, starter motor, clutch actuation, speedo cable, reverse light switch etc.
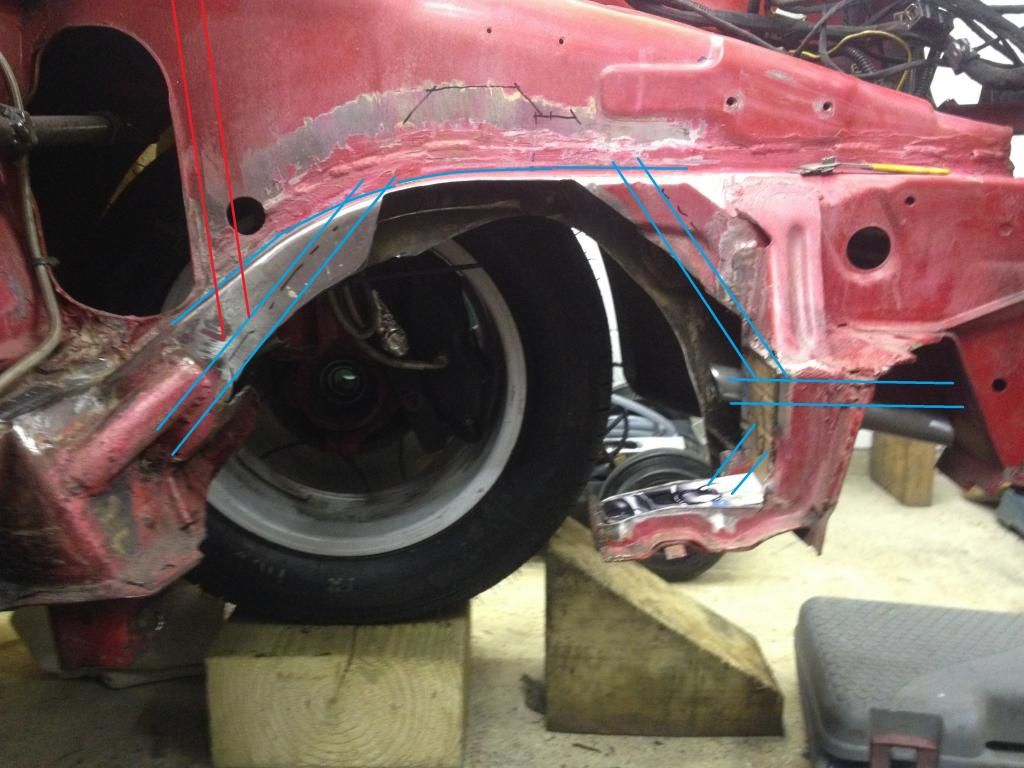
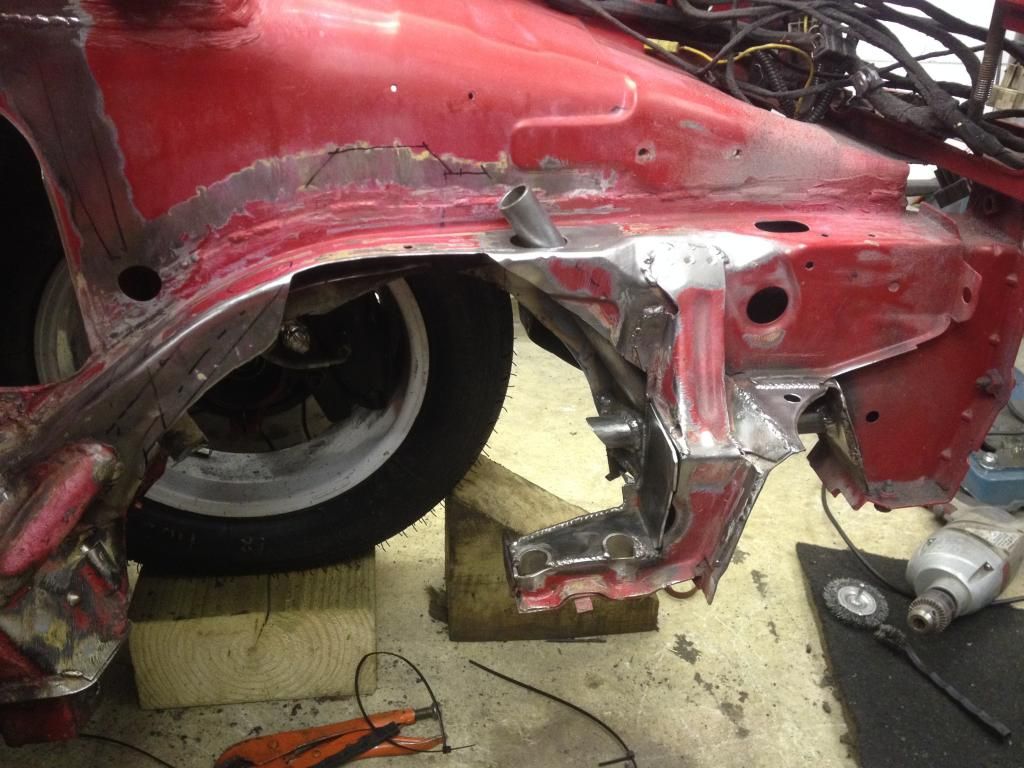
The engine will be fairly stiffly mounted at 4 points, A and B mount on both longitudinals, these support the powertrain roughly in its desired installation angle, then C & D mounts to resist torque, Polo as standard doesn’t use a front gearbox mount, but due to how I will mount the C mount, it’s necessary for this.
So, after I’d cut a fairly sizable hole, and made a Polo even more wobbly than usual, I got to welding bits in. For the next stage of welding I’ll mount the subframe back up so the chassis is as per previous geometry. On to the pics...
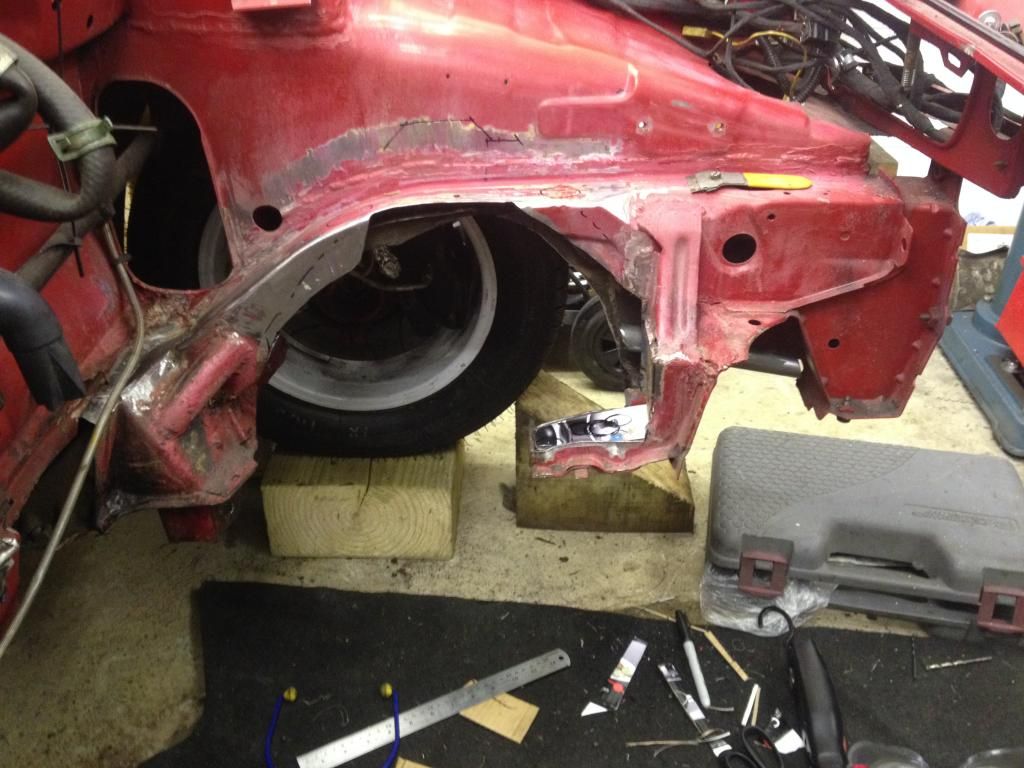
After cutting a big hole, I had a think about supports, my intentions was to mask as much as possible under the original chassis legs, it's neater and doesn't raise as many eyebrows come MOT time.
So, this was the plan:
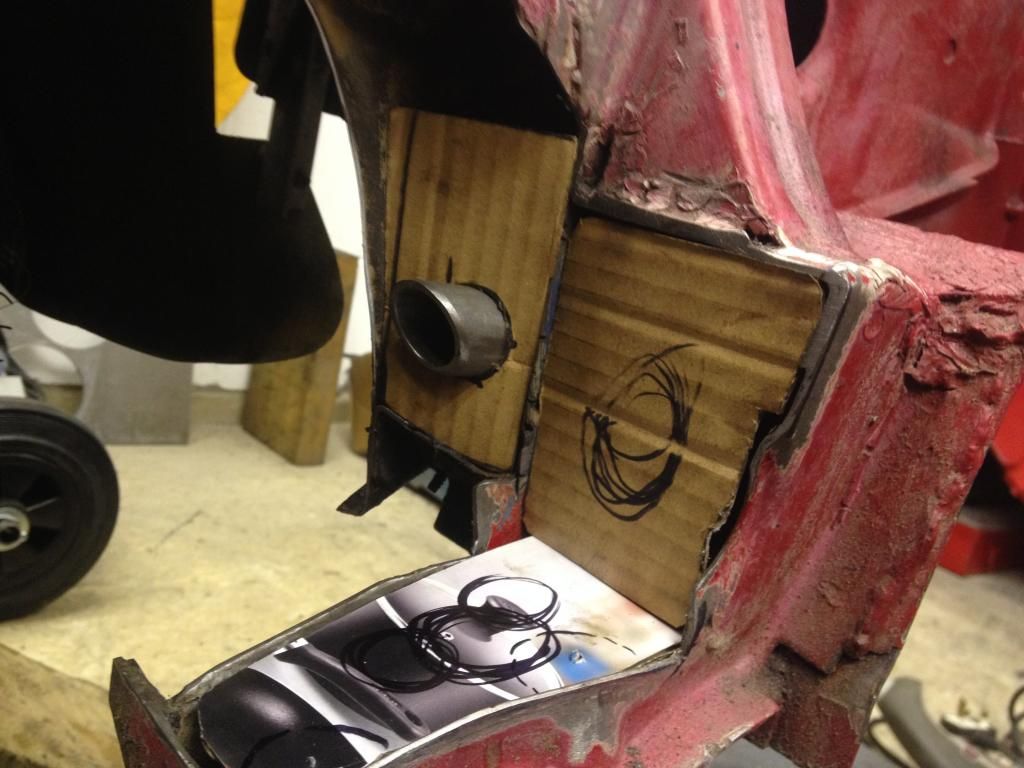
Which obviously required lots of cardboard templates, measuring, cutting, and making of mess:
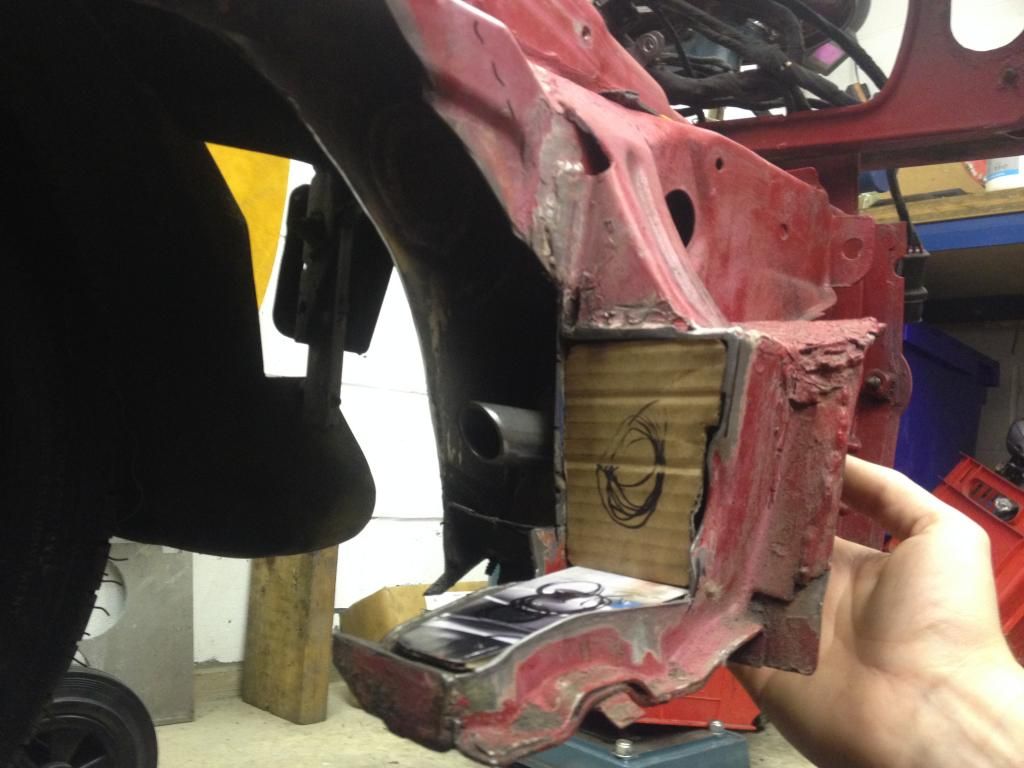
And my least favorite part of fabrication, getting old seam sealer, paint etc off the chassis, deep joy.
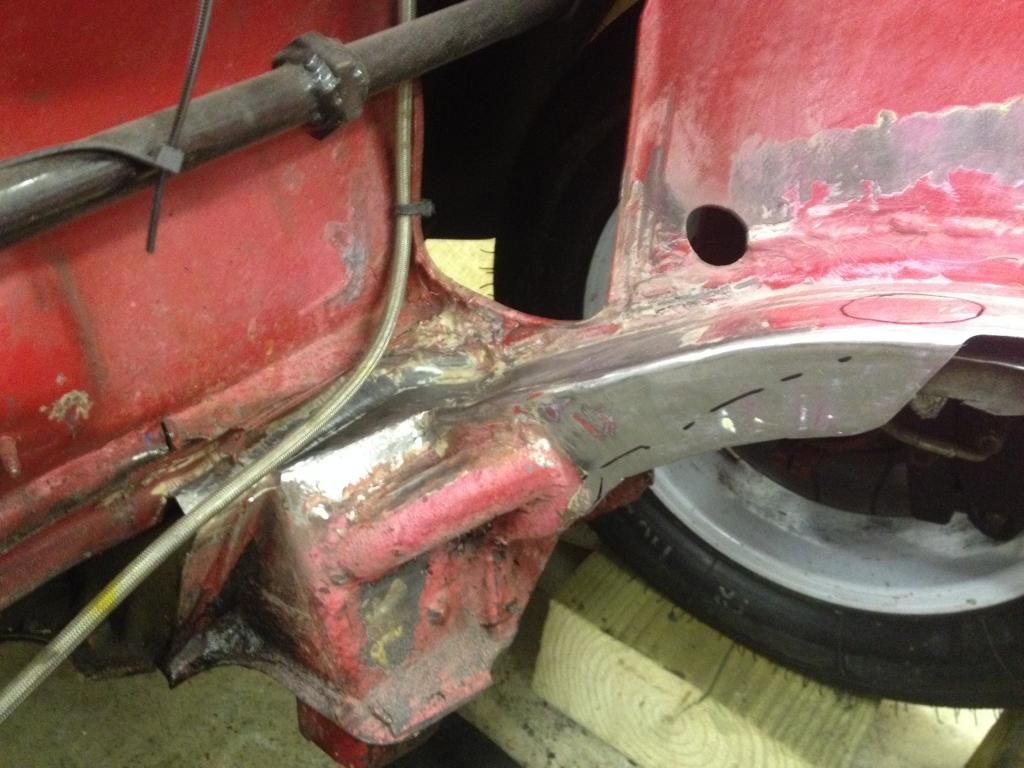
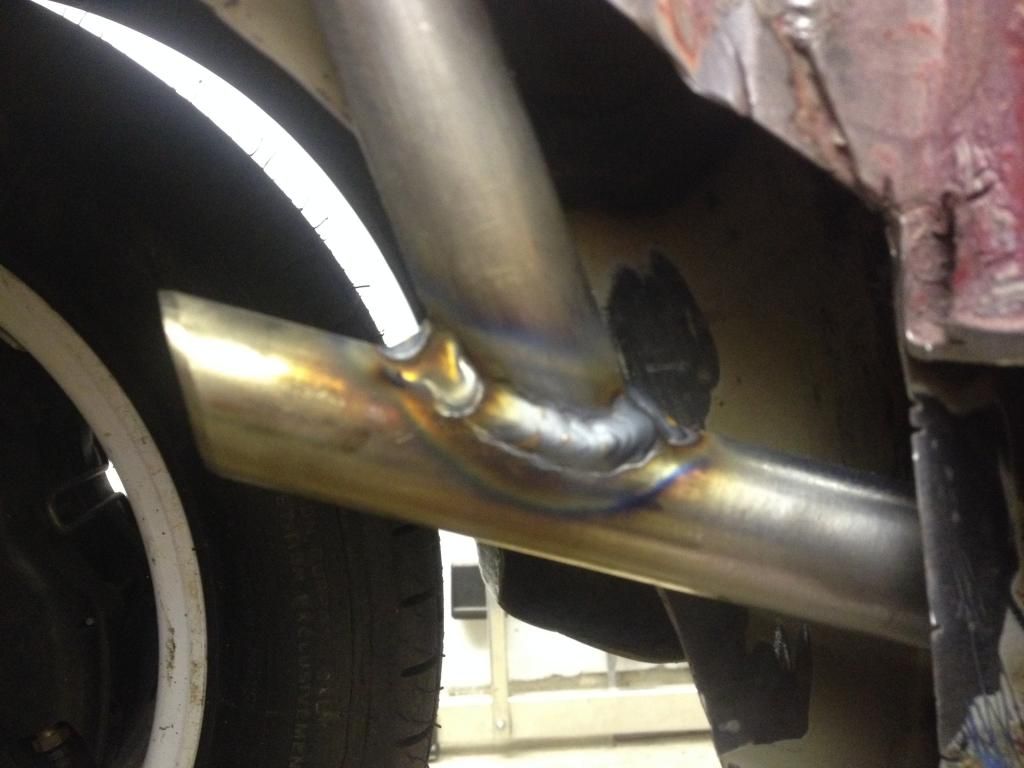
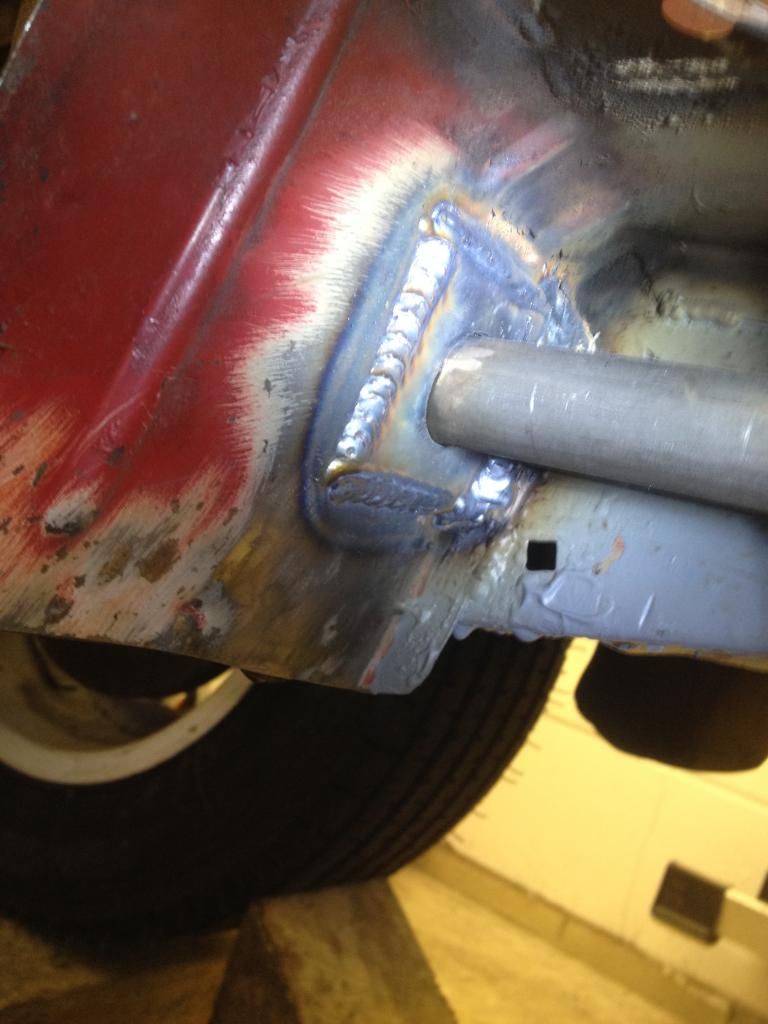
First on the list was to weld the two lengths of CDS together and insert them in the chassis, several tack/mock ups prior to this to ensure it was right:
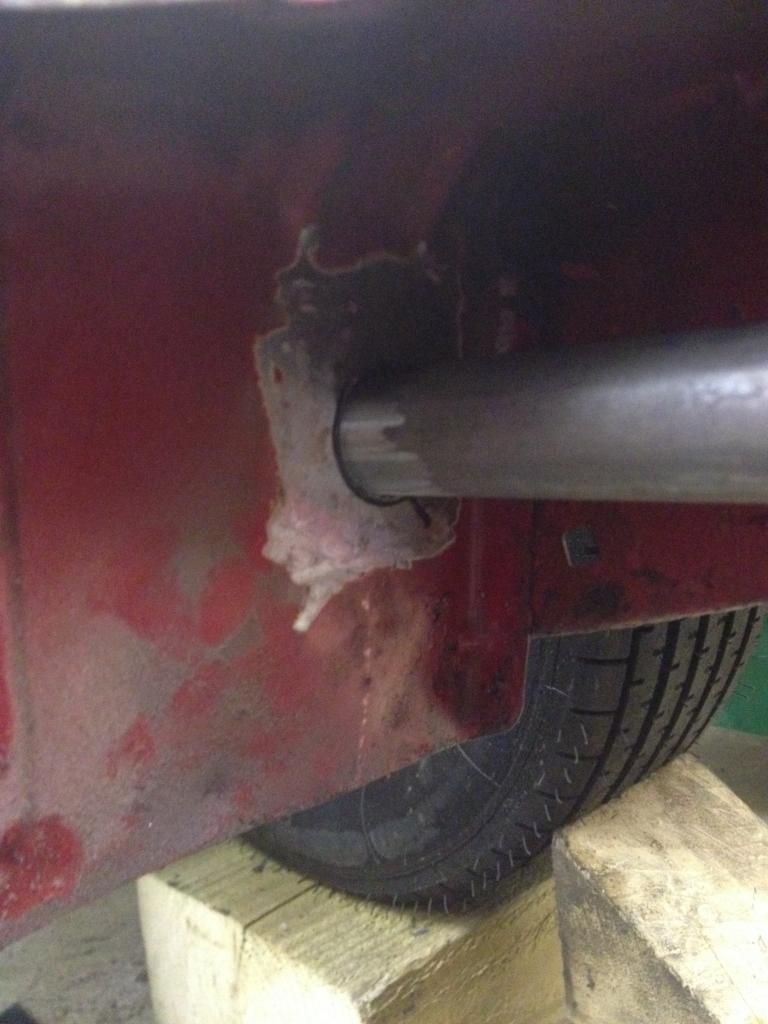
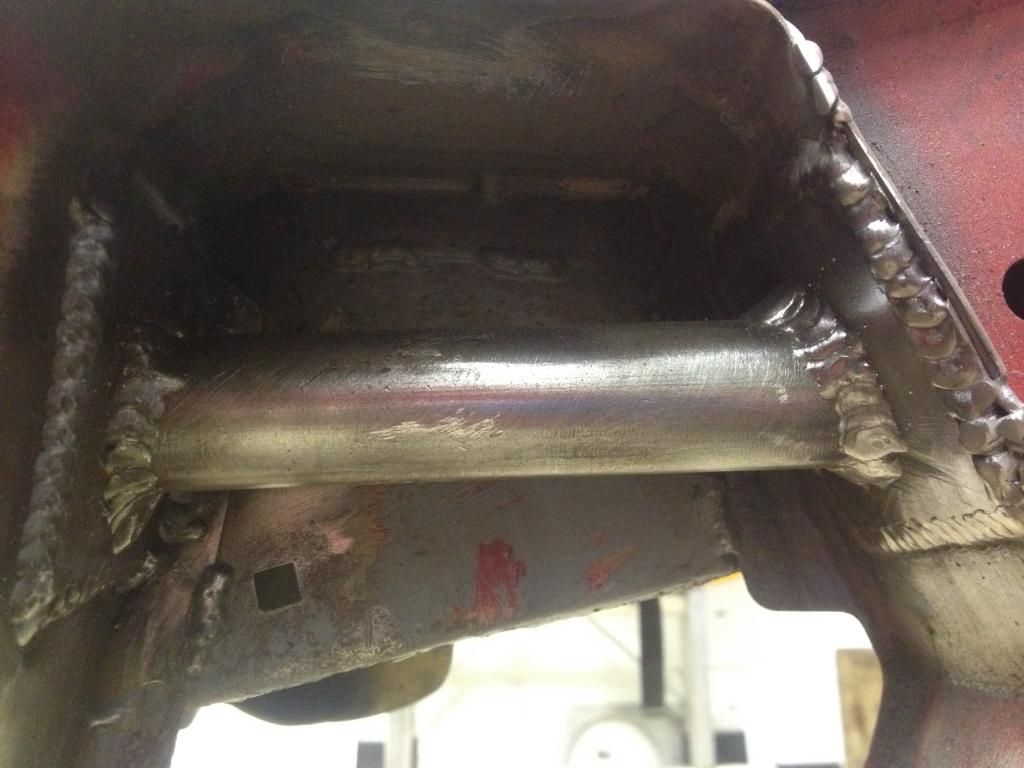
Hole saw used on the chassis that had tube passing through it, gave a nice tight fit, these have plates welded over the top to spread load.
Before I welded the plates in I stitched the chassis leg where possible.
And then next was to weld plates in around these tubes, tube poking through the upper chassis leg will be the last one to be completed.
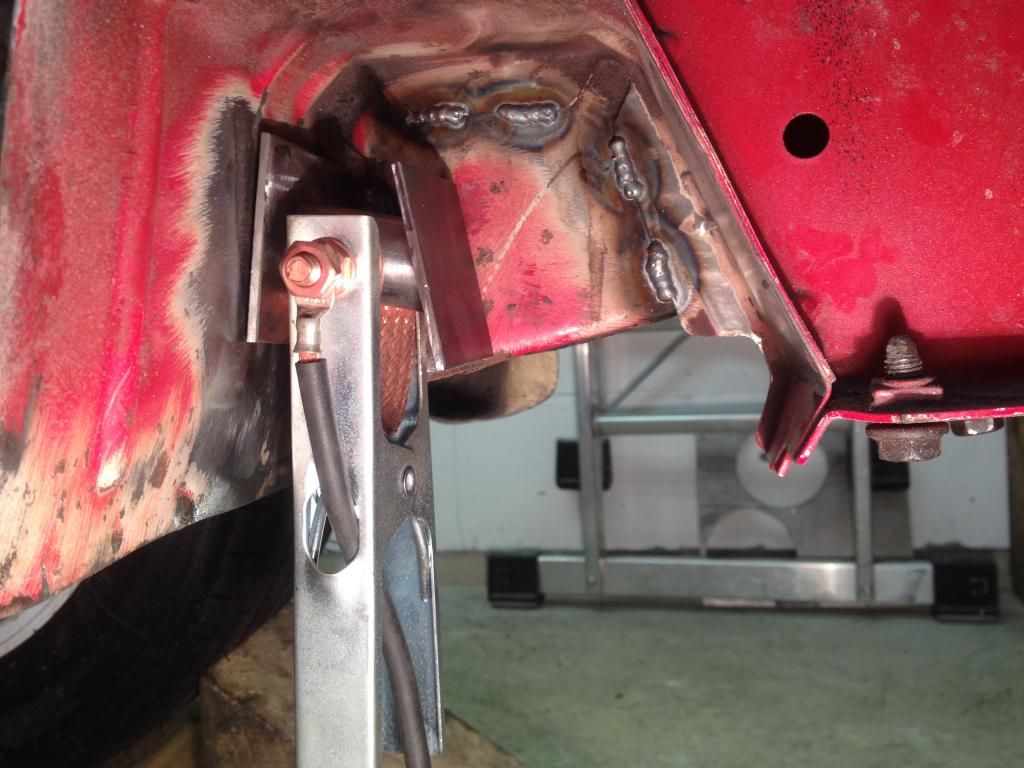
A quick tidy up of previous stitch welding on the chassis was done too:
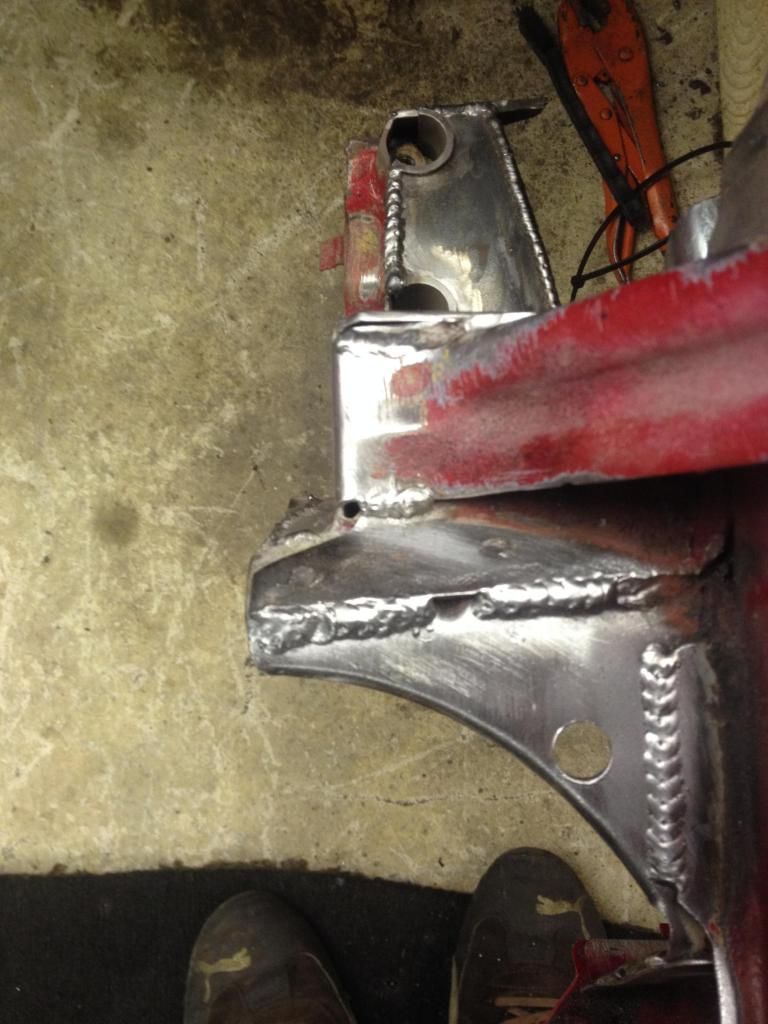
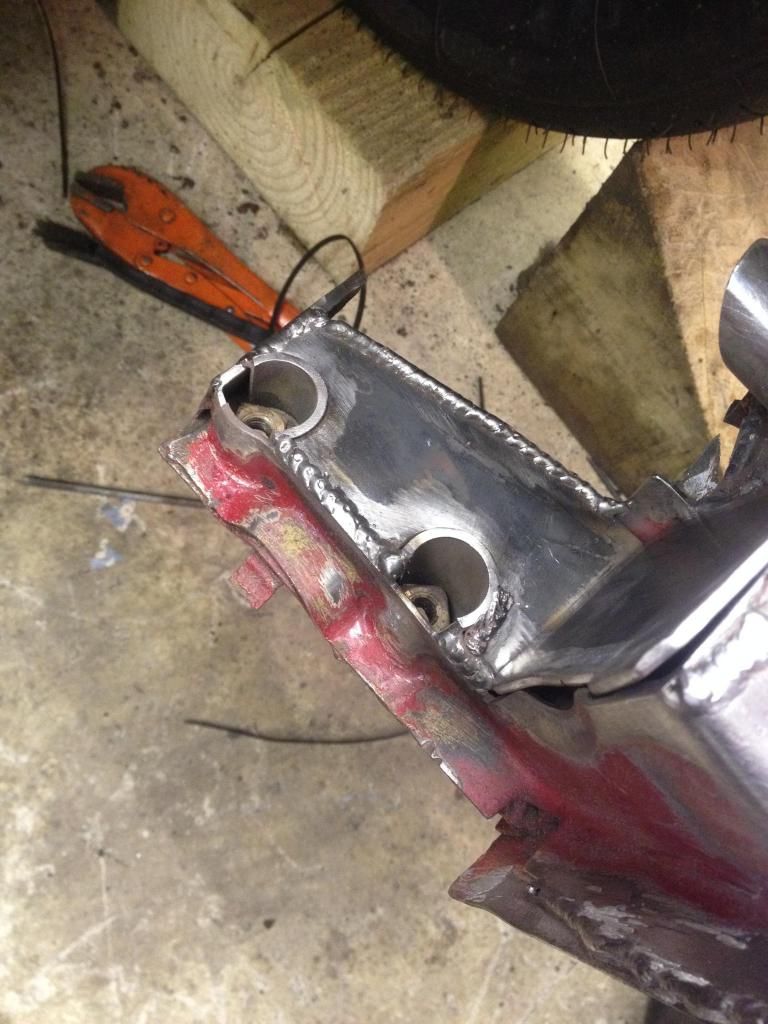
And then moved onto the NSF subframe mounting point, the access tubes are for the fixings, will try to find some plastic caps for them so they don't get full of crud.
I ran out of gas at this point, so progress has halted up to here:
All for now- please feel free to abuse my welding... it's not like riding a bike, I've still burnt myself several times, still I've remembered what Spanish underseal smells like when it's burning.
Cheers
Pete